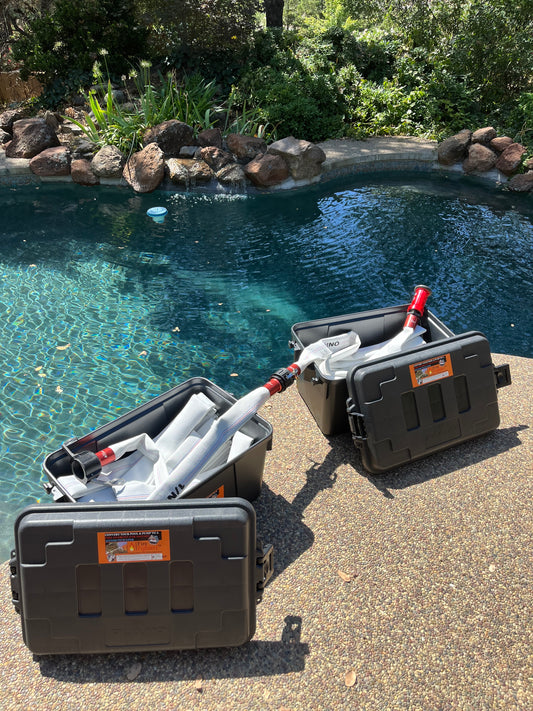
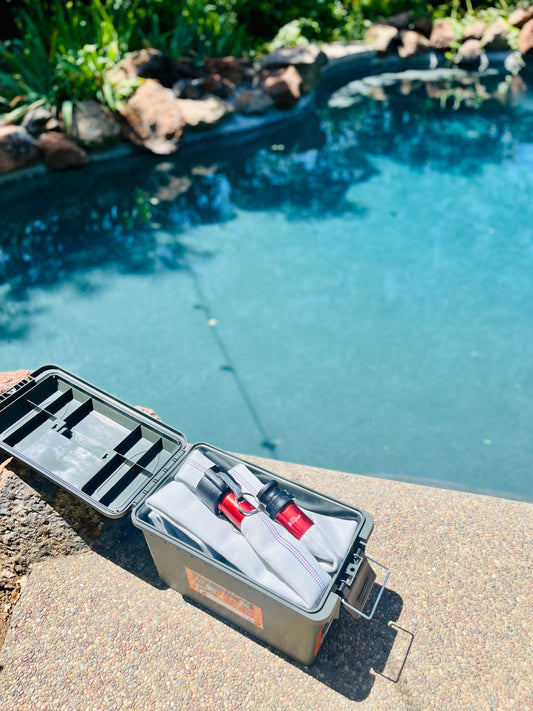
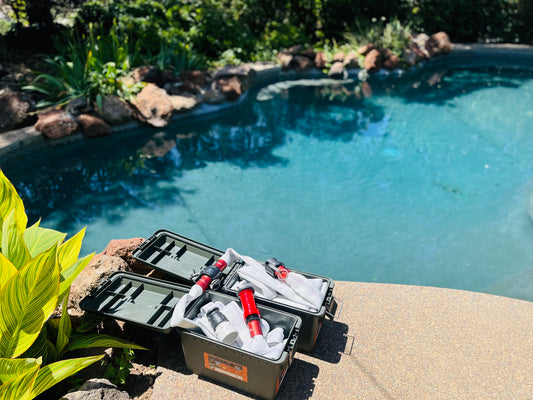
Installing FireFighter1™

Step One
Choose Placement
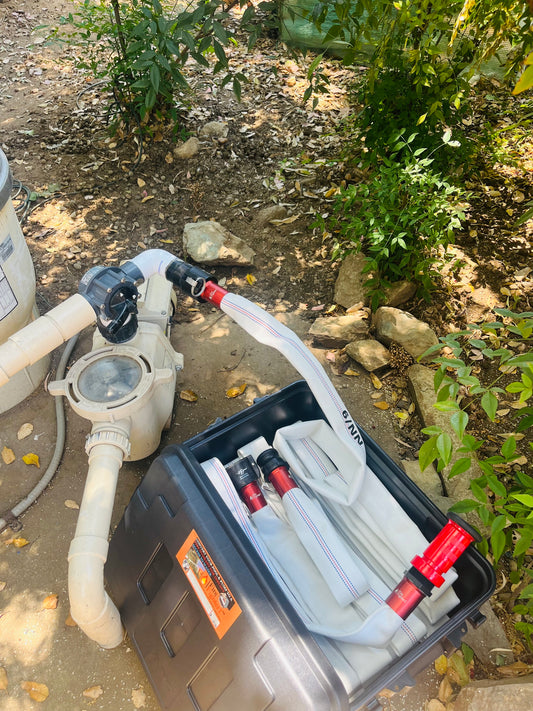
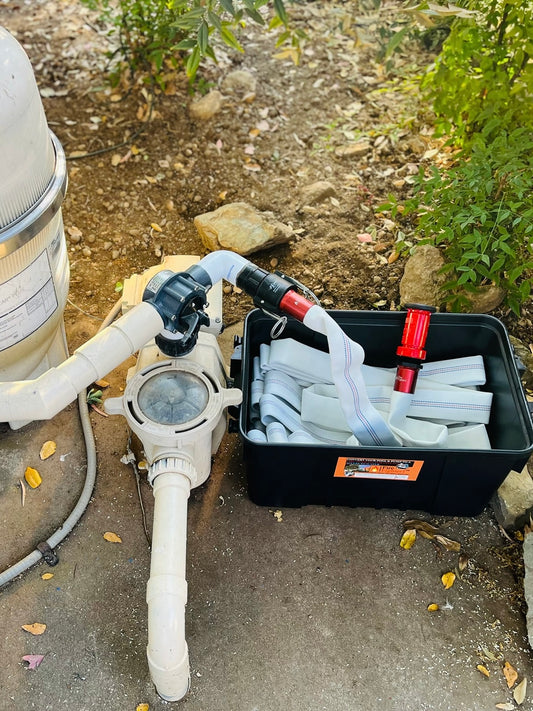
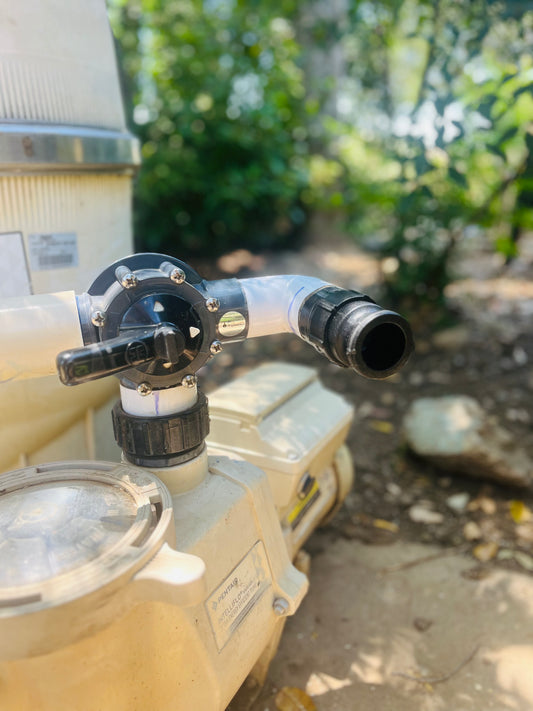
Choose the most optimal place for hose connection between the high pressure side of the main pool pump and the pool filter. Make sure your FireFighter1™ Hose Adapter will be easy to access and facing the areas you want to protect most.

Step Two
Cut PVC Piping
Remove section of PVC to add 3-Way Diverter. Don't remove too much.

Step Three
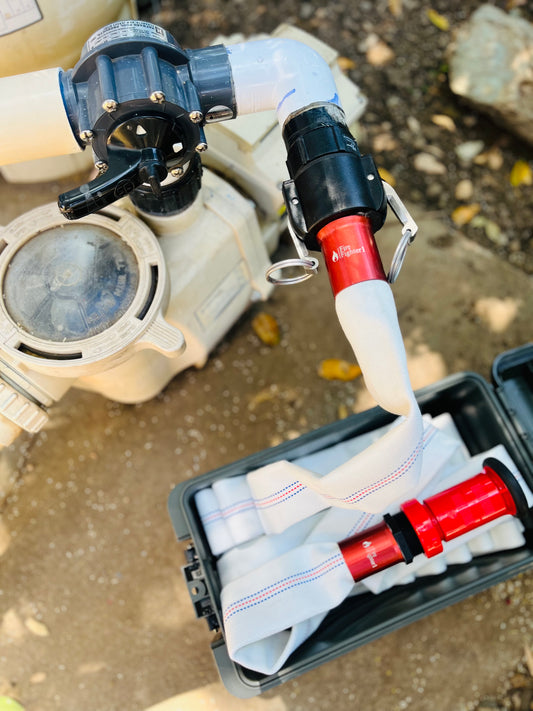
Add Our Adapter
Glue in 3-Way Diverter & Our Adapter on Open Port Created. Make Sure Adapter is Facing What You Want to Protect Most.

Step Four
Connect Your FireFighter1 ™
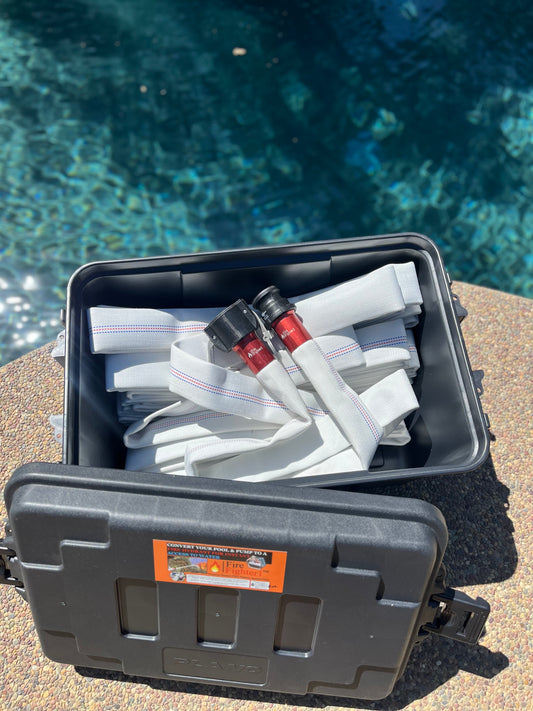
During a fire emergency, connect your FireFighter1™ Hose to the adapter added to your pool pump. Then redirect flow of water to the FireFighter1™ Hose instead of going back to your filter, and turn on your pump.

Step Five
Quick Water Access
You now have quick water access & are ready to help protect your property if there is a fire emergency. Be able to extract & spray valuable water 40+ feet, at 100+ GPM & 80+ PSI off a 2.7 HP variable speed pool pump as pictured!
See How Others Install FireFighter1™ to Their Pool Pump or Simply Add to Their Backwash
-
100ft FireFighter1™ Pool-Fed Fire Hose - 50/50 System
Regular price From $569.00 USDRegular priceUnit price per$599.00 USDSale price From $569.00 USDSale -
100ft FireFighter1™ Pool-Fed Fire Hose System
Regular price From $519.00 USDRegular priceUnit price per -
50ft FireFighter1™ Pool-Fed Fire Hose System
Regular price From $429.00 USDRegular priceUnit price per$499.00 USDSale price From $429.00 USDSale -
100ft FireFighter1™ Extension
Regular price $389.00 USDRegular priceUnit price per -
50ft FireFighter1™ Hose Extension
Regular price $319.00 USDRegular priceUnit price per$359.00 USDSale price $319.00 USDSale -
3-Port Diverter Valve CPVC - 2" to 2-1/2" Positive Seal NeverLube Valve
Regular price $68.00 USDRegular priceUnit price per -
FireFighter1™ Suction Hose & Strainer
Regular price $149.00 USDRegular priceUnit price per$179.00 USDSale price $149.00 USDSale