Skip to content
As seen on Shark Tank

Examples

All FireFighter™ Hose System come with a custom adapter you, or your pool professional, install to the high pressure side of your pool pump, before the filter, with a 3-way diverter or directly on your backwash. That adapter stays available to quickly connect your FireFighter1™ Hose in the event of a fire. Here are a few example installations.  

Example Install #1:

In this install, the elbow above the pump was cut off,  together with the tubing that connected it to the pump. The diverter valve was connected to the remaining tubing from the filter with a length of PVC tubing and couplings that placed the diverter immediately and precisely above the pump connection. Tubing then connected the diverter to the pump. All the parts were cemented only after being sure everything fit.


Example Install #2:

This install is similar to Install #1. The hose is permanently connected to the diverter valve via the quick release since the storage box containing the remaining hose is over the wall that surrounds the pool equipment.
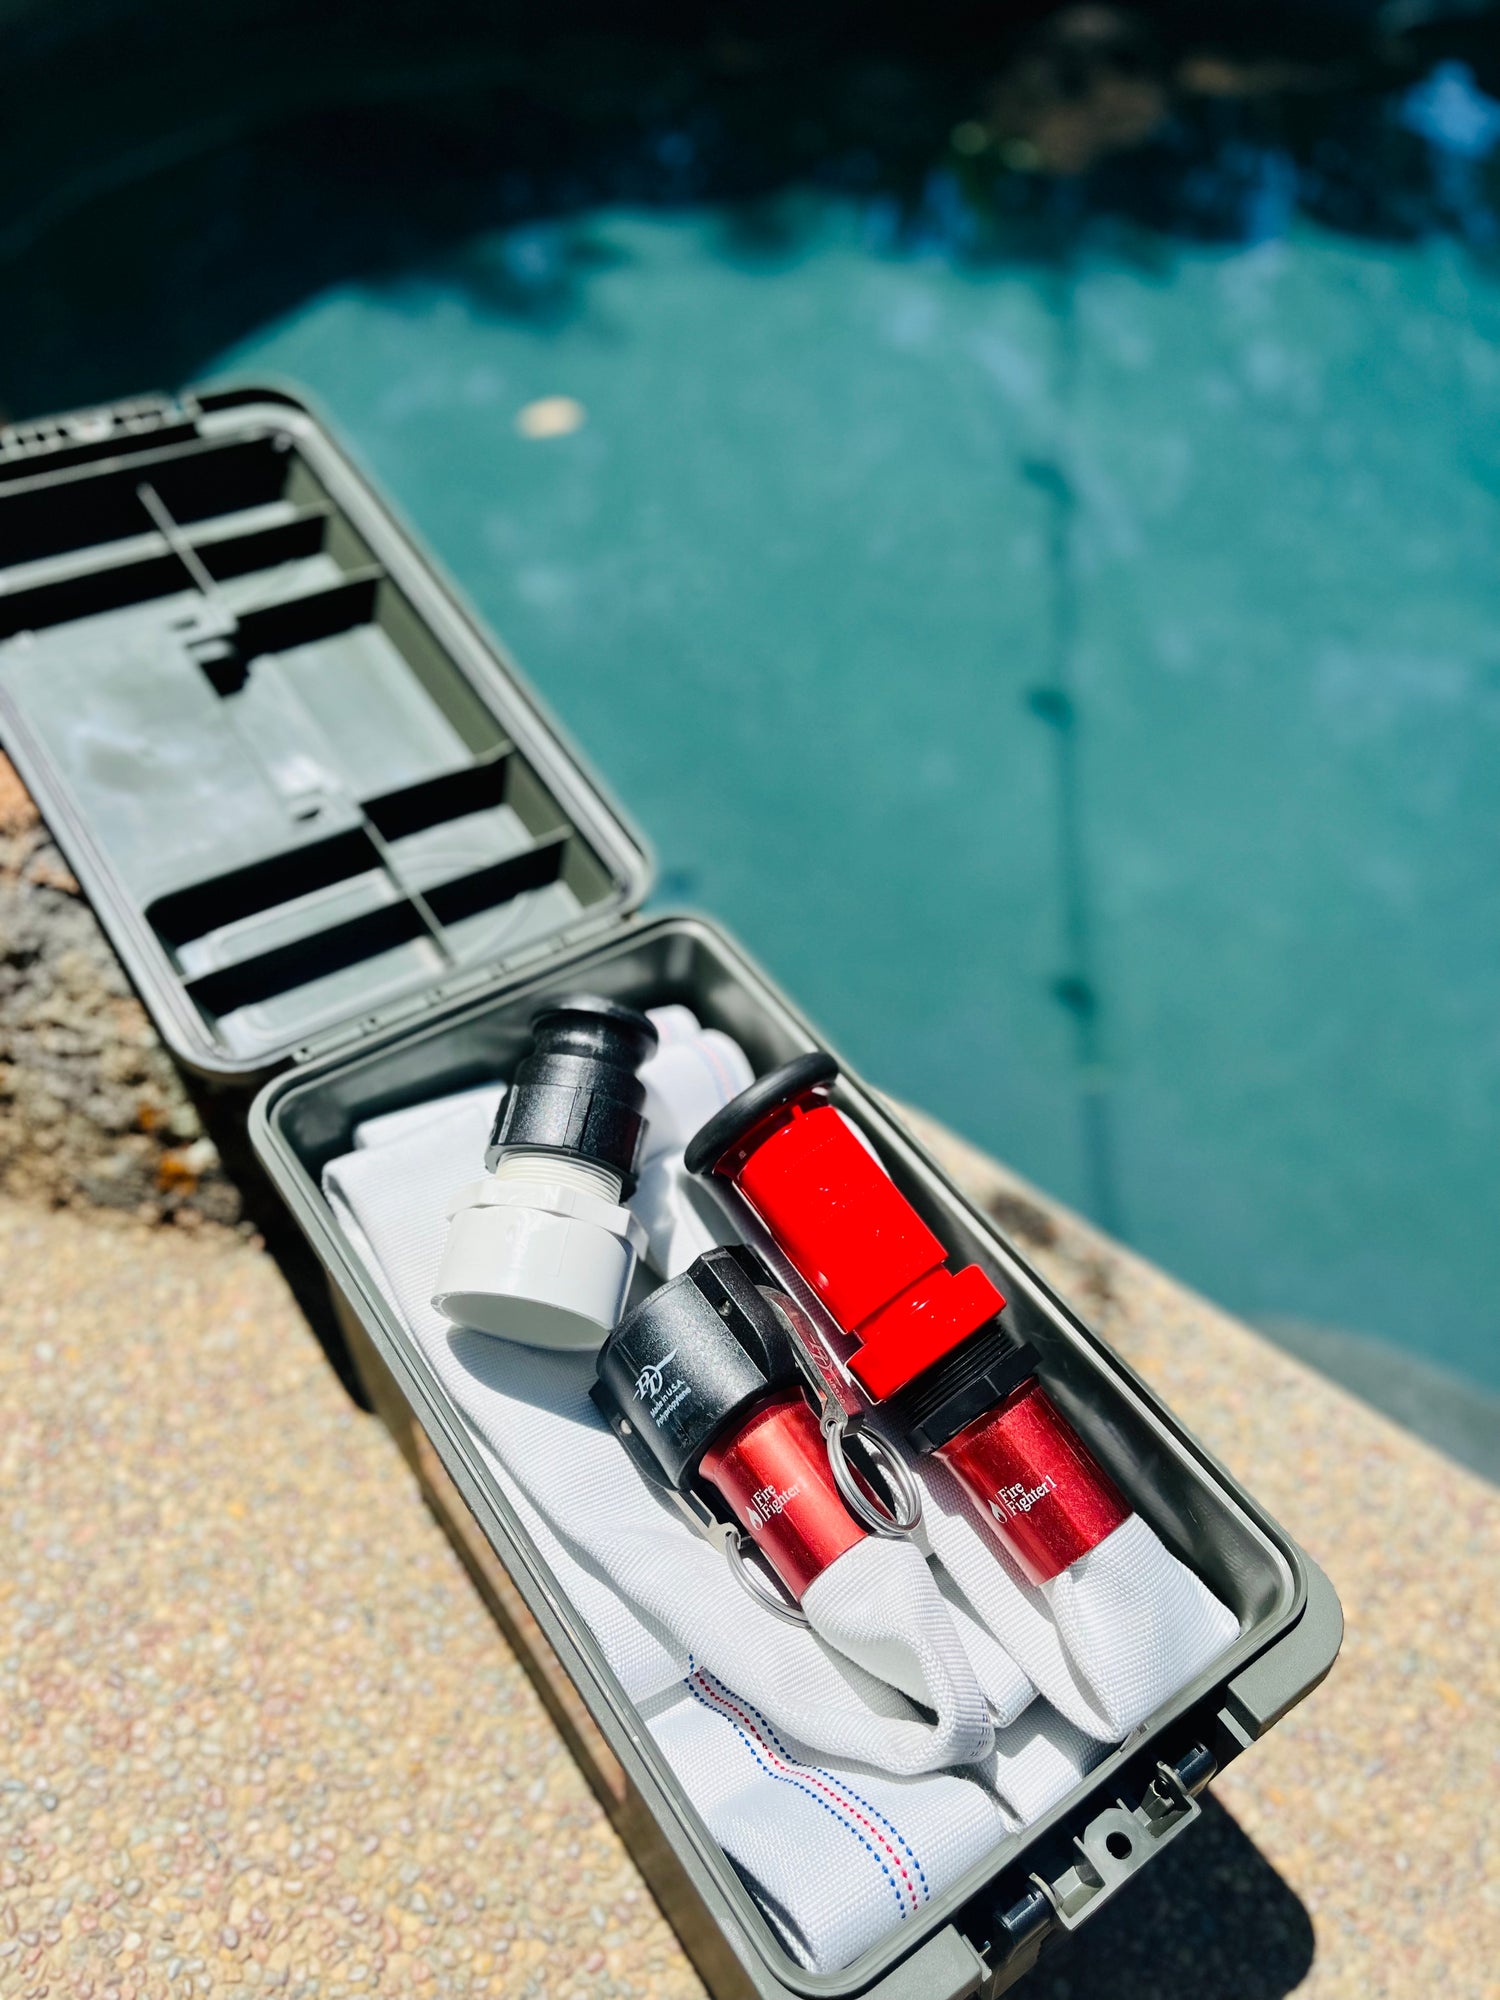
Installing FireFighter1™

FireFighter1 is simple to install if you are familiar with PVC plumbing & usually takes about 30 minutes. 

What's Included with FireFighter1

  • Custom 1.5" Nylon Fire Hose;
  • Adjustable Spray Nozzle on one end;
  • Male Polypropylene Adapter on other end - 25, 50, or 100 foot;
  • Female Polypropylene Adapter - For connecting hose to 3-way diverter;
  • 1.5" Charlotte Pipe Coupler;
  • Waterproof Storage Box;
  • Additional: 3-Way Diverter To Connect Hose With Pool Pump. Also Available From Pool Service Provider During Installation
Installation_Step_1_Pick_Location_at_high_pressure_sie_of_the_pool_pump_before_the_filter_and_install

Step One

Choose FireFighter1™ Placement

Choose the most optimal place for hose connection between the high pressure side of the main pool pump and the pool filter. Make sure your FireFighter1™ Hose Adapter will be easy to access and facing the areas you want to protect most.

Step Two

Cut PVC Piping

Remove section of PVC to add 3-Way Diverter. Don't remove too much.

Step Three

Add Our Adapter

Glue in 3-Way Diverter & Our Adapter on Open Port Created. Make Sure Adapter is Facing What You Want to Protect Most.

Step Four

Connect Your FireFighter1 ™ Hose

Be Ready to Connect Your FireFighter1 ™ Hose, to the installed adapter, anytime there is a fire emergency.

Step Five

Quick Water Access

During a fire emergency, connect your FireFighter1™ Hose to the adapter added to your pool pump. Then extract & spray valuable water 40+ feet, at 100+ GPM & 80+ PSI off a 2.7 HP variable speed pool pump as pictured!How To Use

Installing FireFighter1™

  • Plan what direction the adapter should face. Optimally facing the direction most intended to protect from fire and in a direction where hose is less likely to be bent.
  • FireFighter1 should be installed on the high pressure side of the pool pump prior to the filter
  • Install to minimize pressure drops. This means designing your install to avoid whenever possible:
  • 90 degree PVC elbows or other high angle bends
  • Read up on how to cement, prepare, and measure tubing length of PVC when installing PVC (see links on this page)
  • Even if you have all the right install parts and have cut the exact lengths of PVC tubing you need, the order in which you put parts together can be very important when cementing tubing. Try to fit the parts in place before cementing as best you can. Think and plan ahead and write it down.
  • Sometimes use of PVC unions can solve very tight space requirements since tubing ends can be butted up against each rather than cemented with slip couplings.


If you have doubts or no experience, ask your pool servicer or local pool company to install or email support@fightfireon.site, and we will provide a local installer.